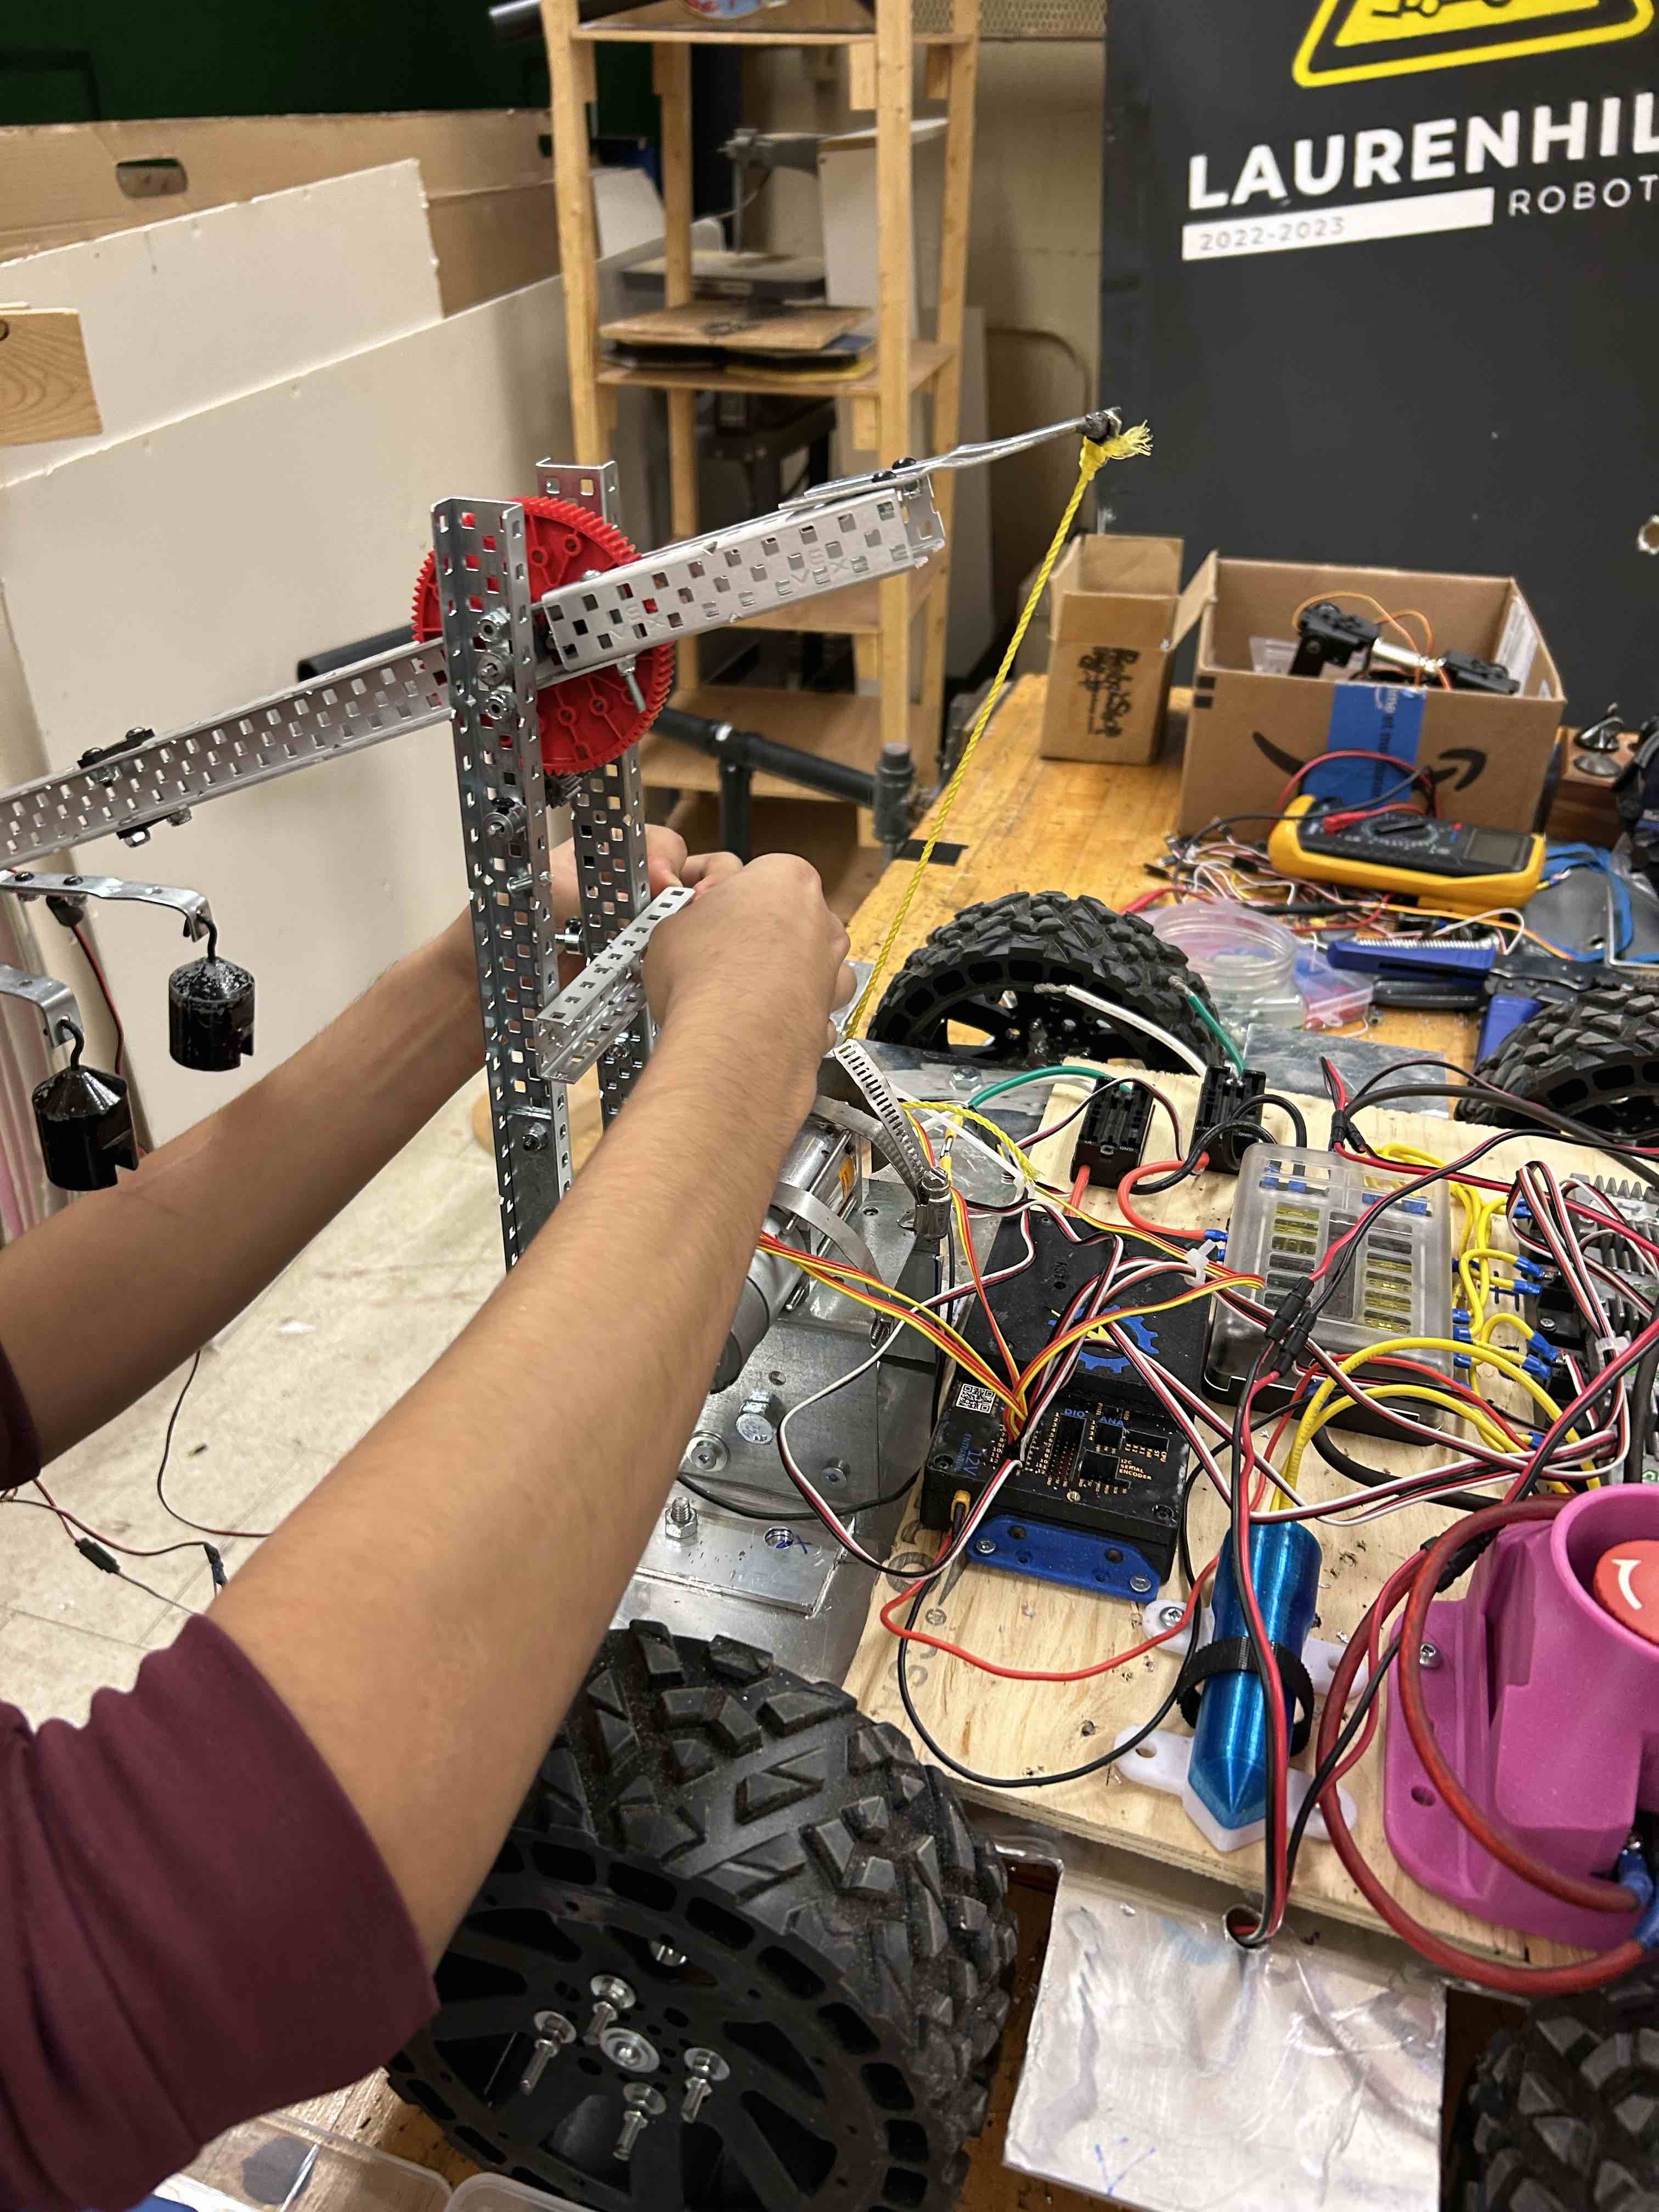
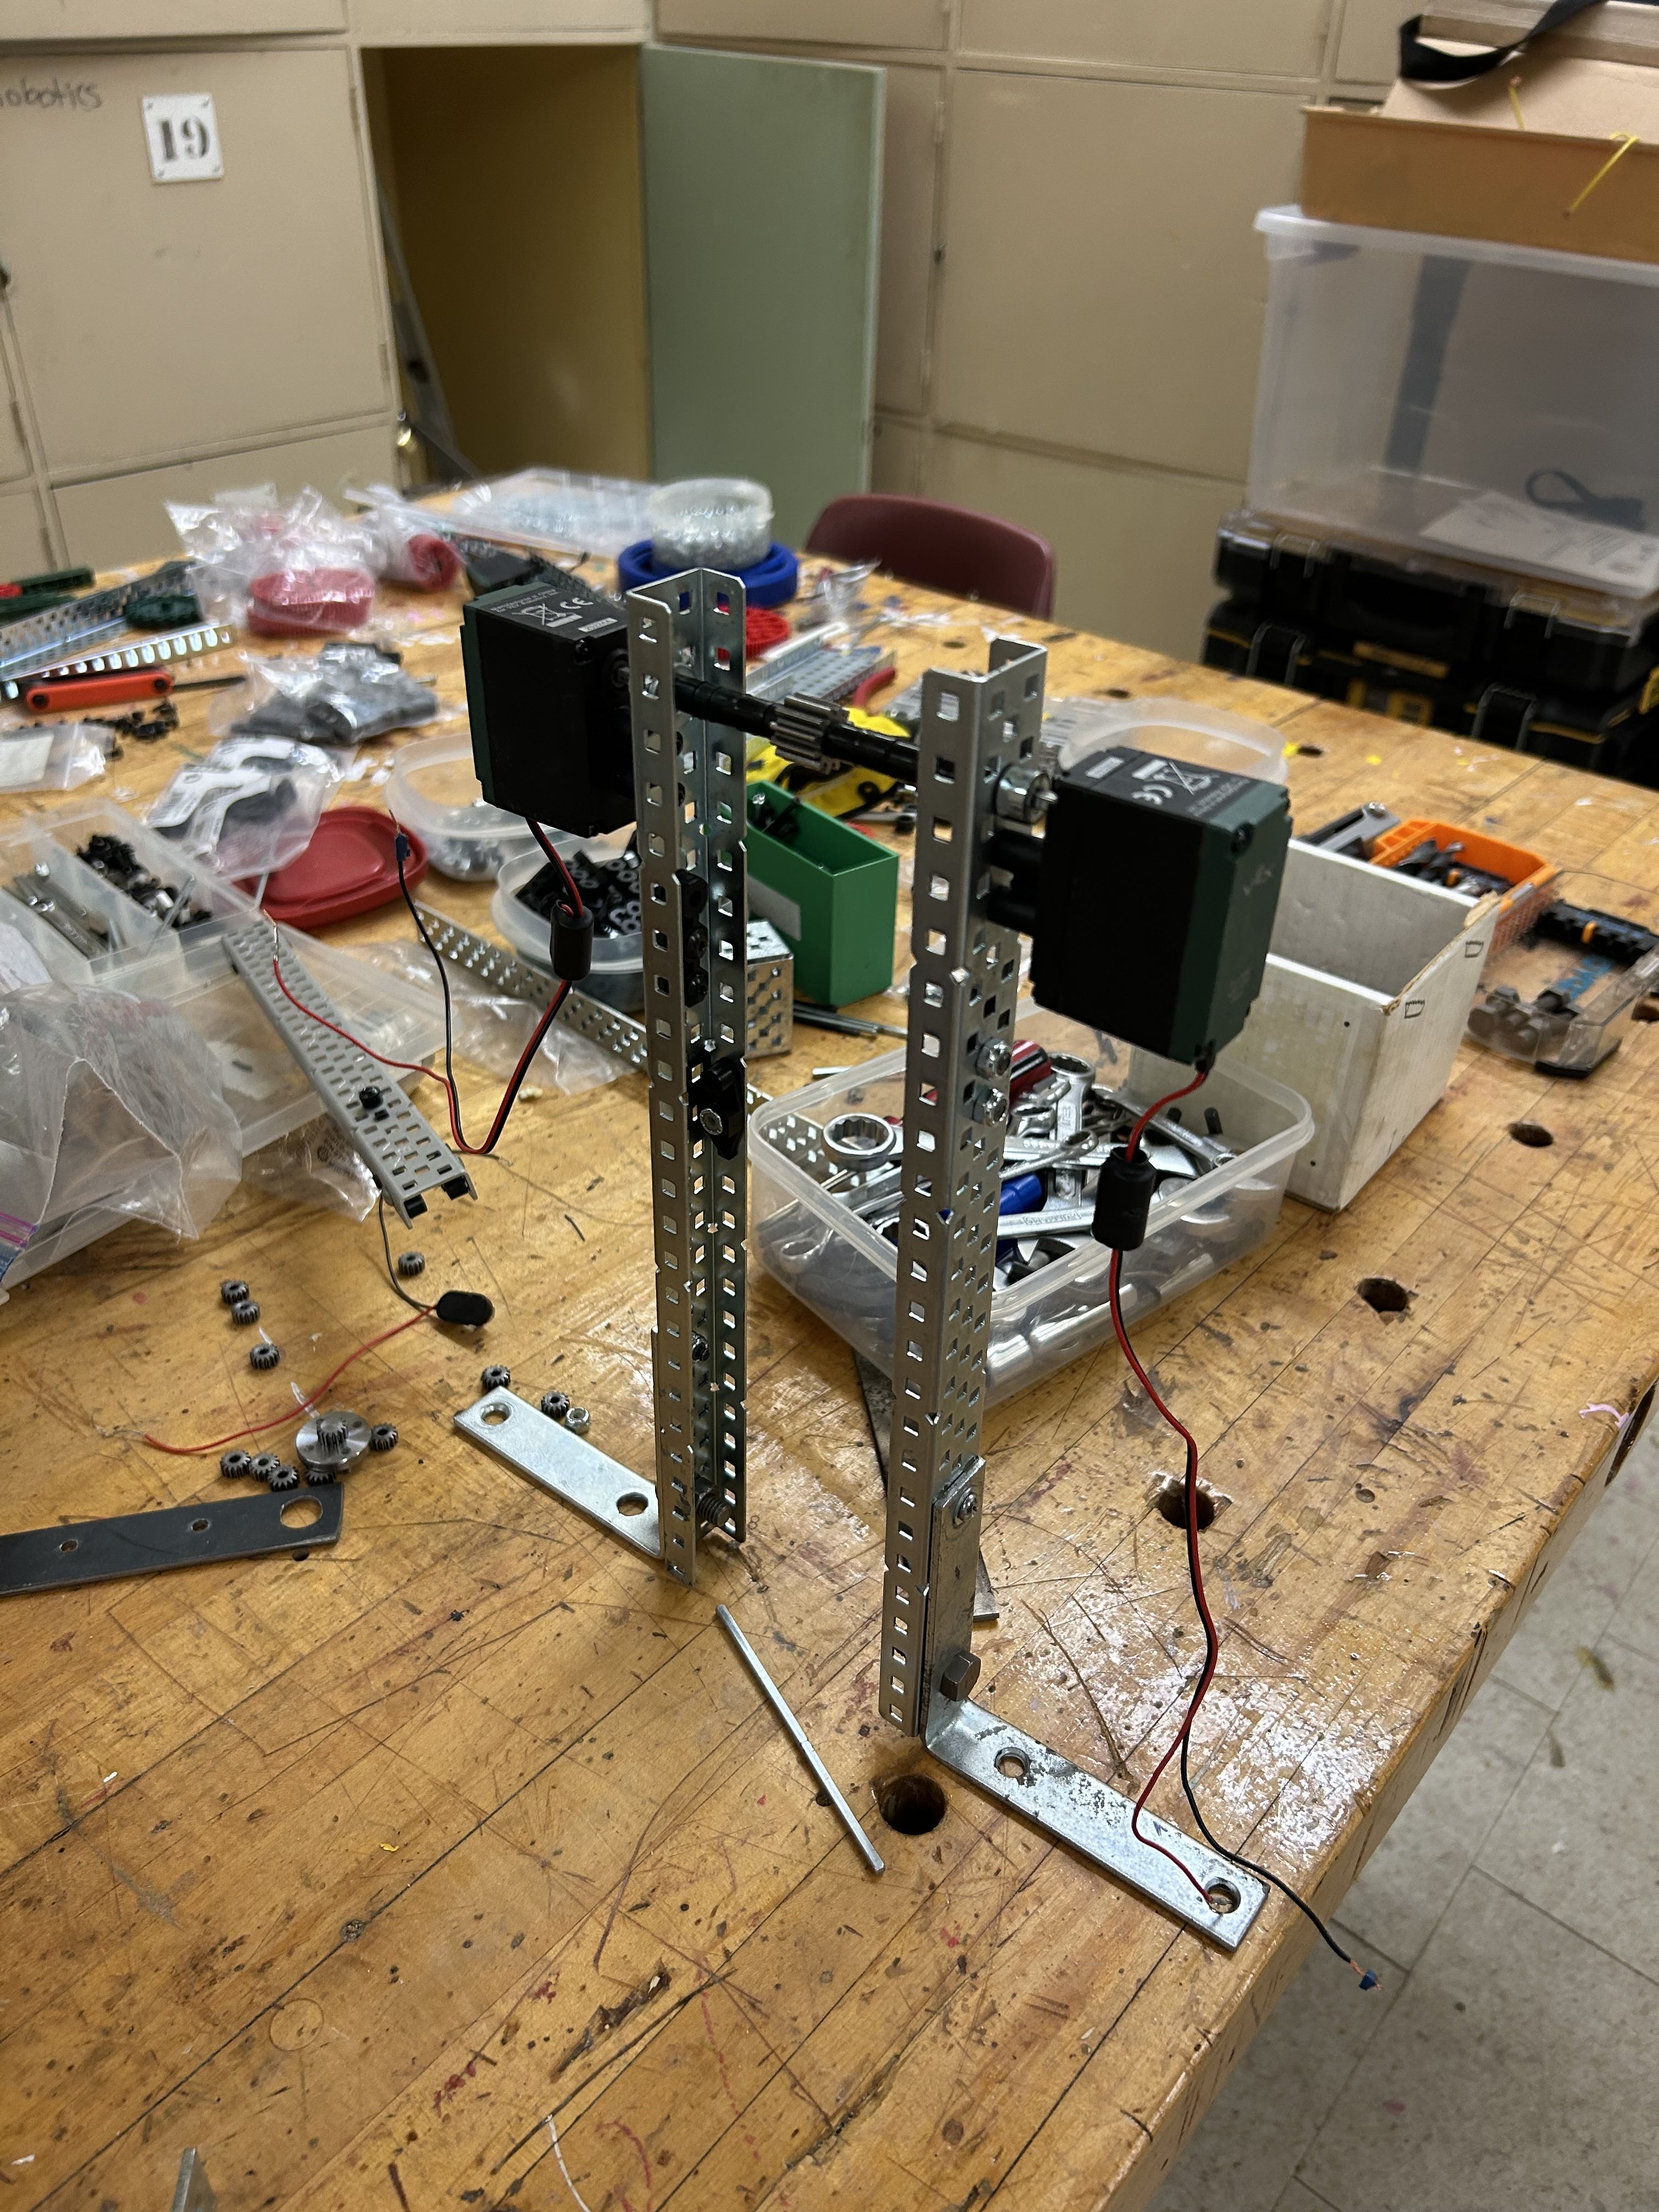
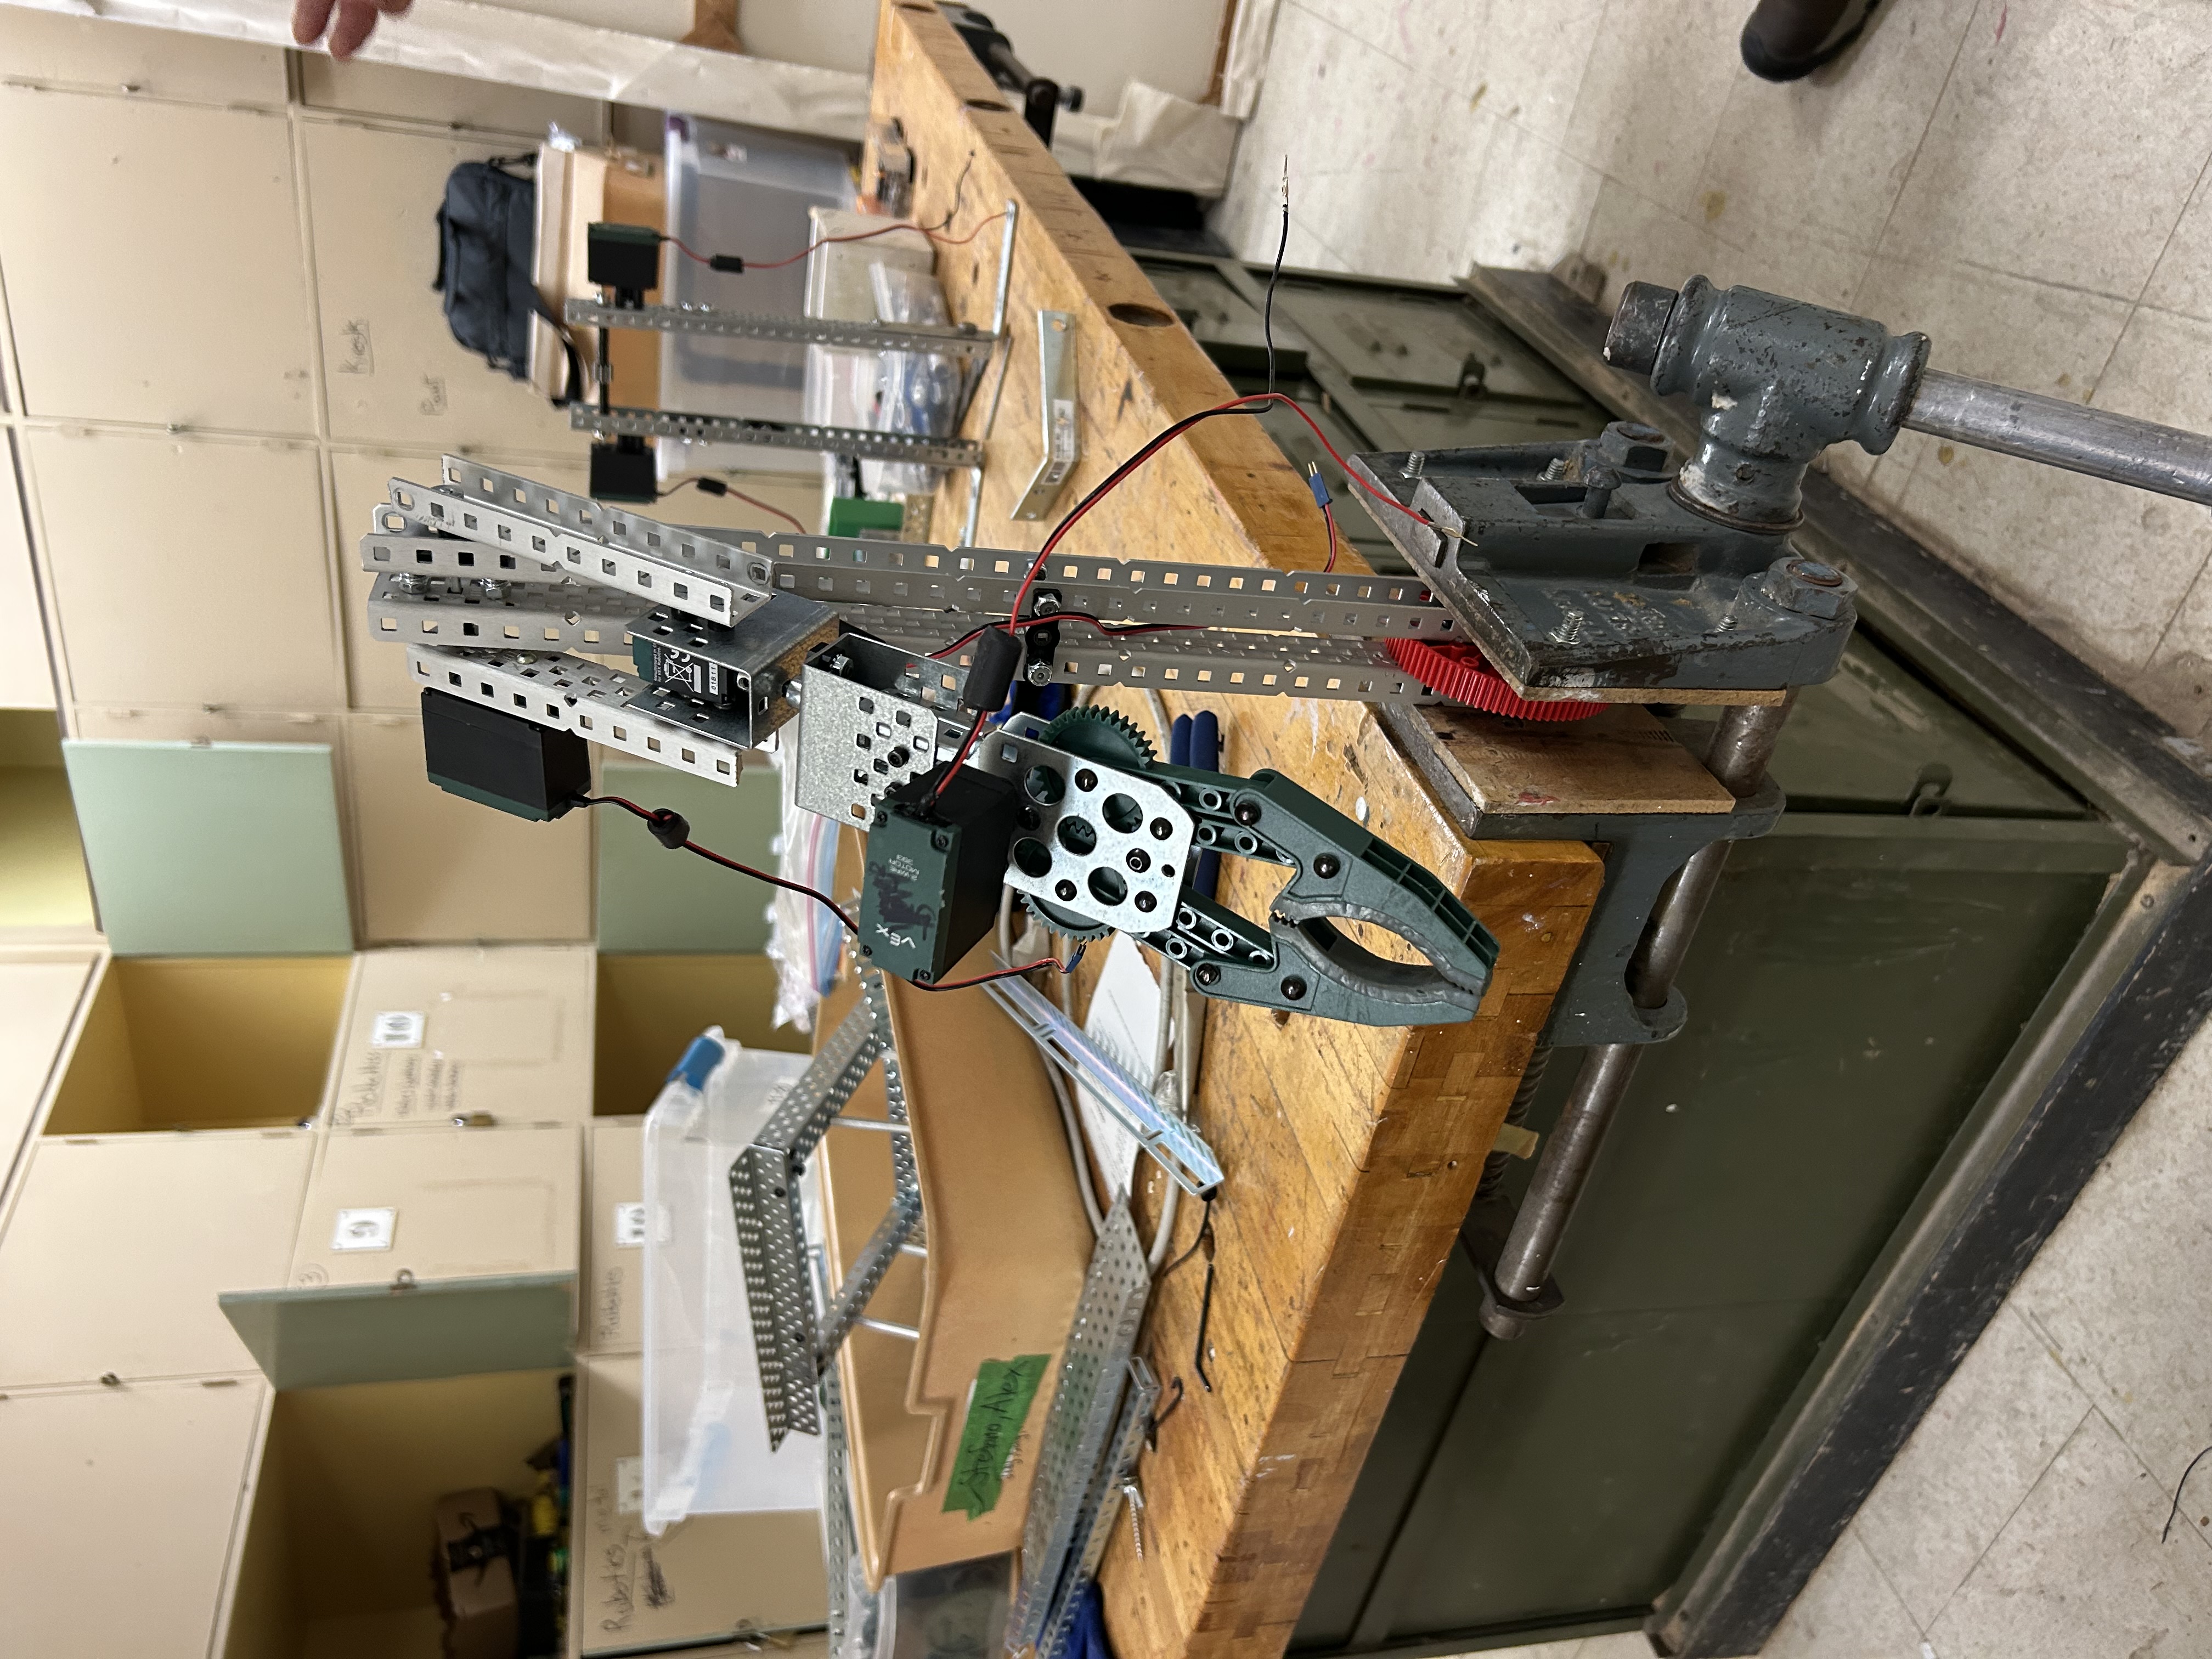
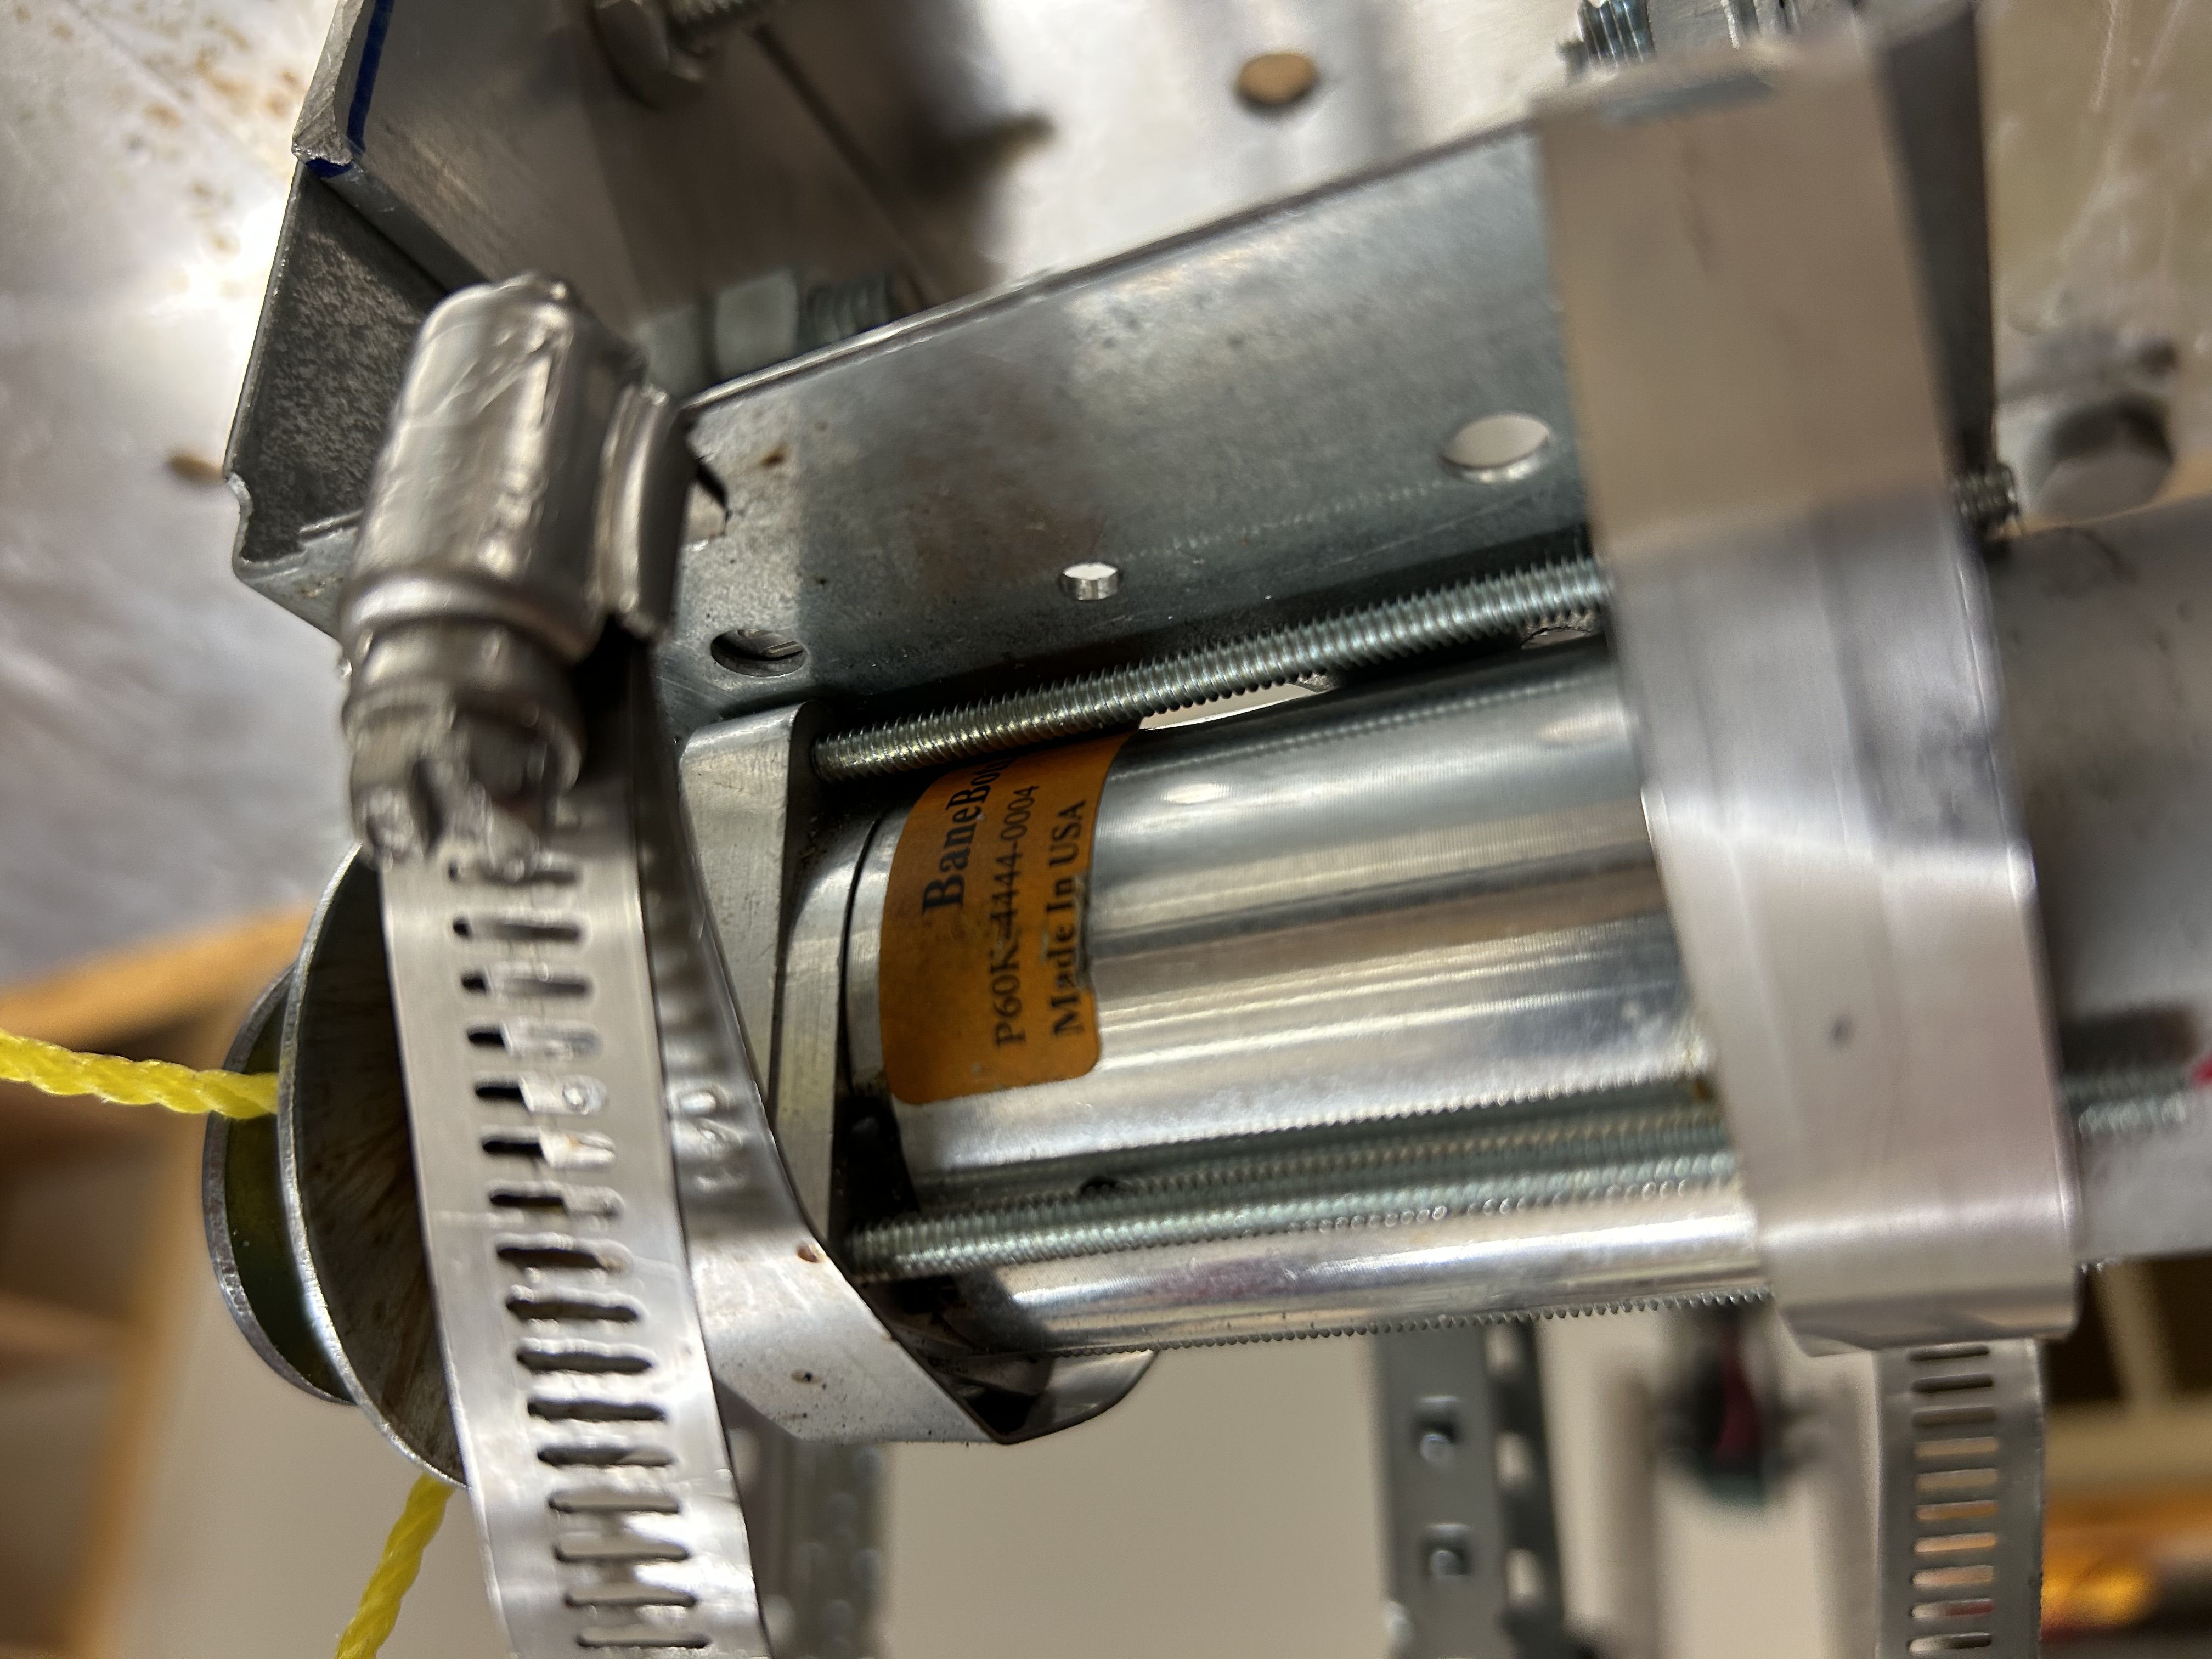
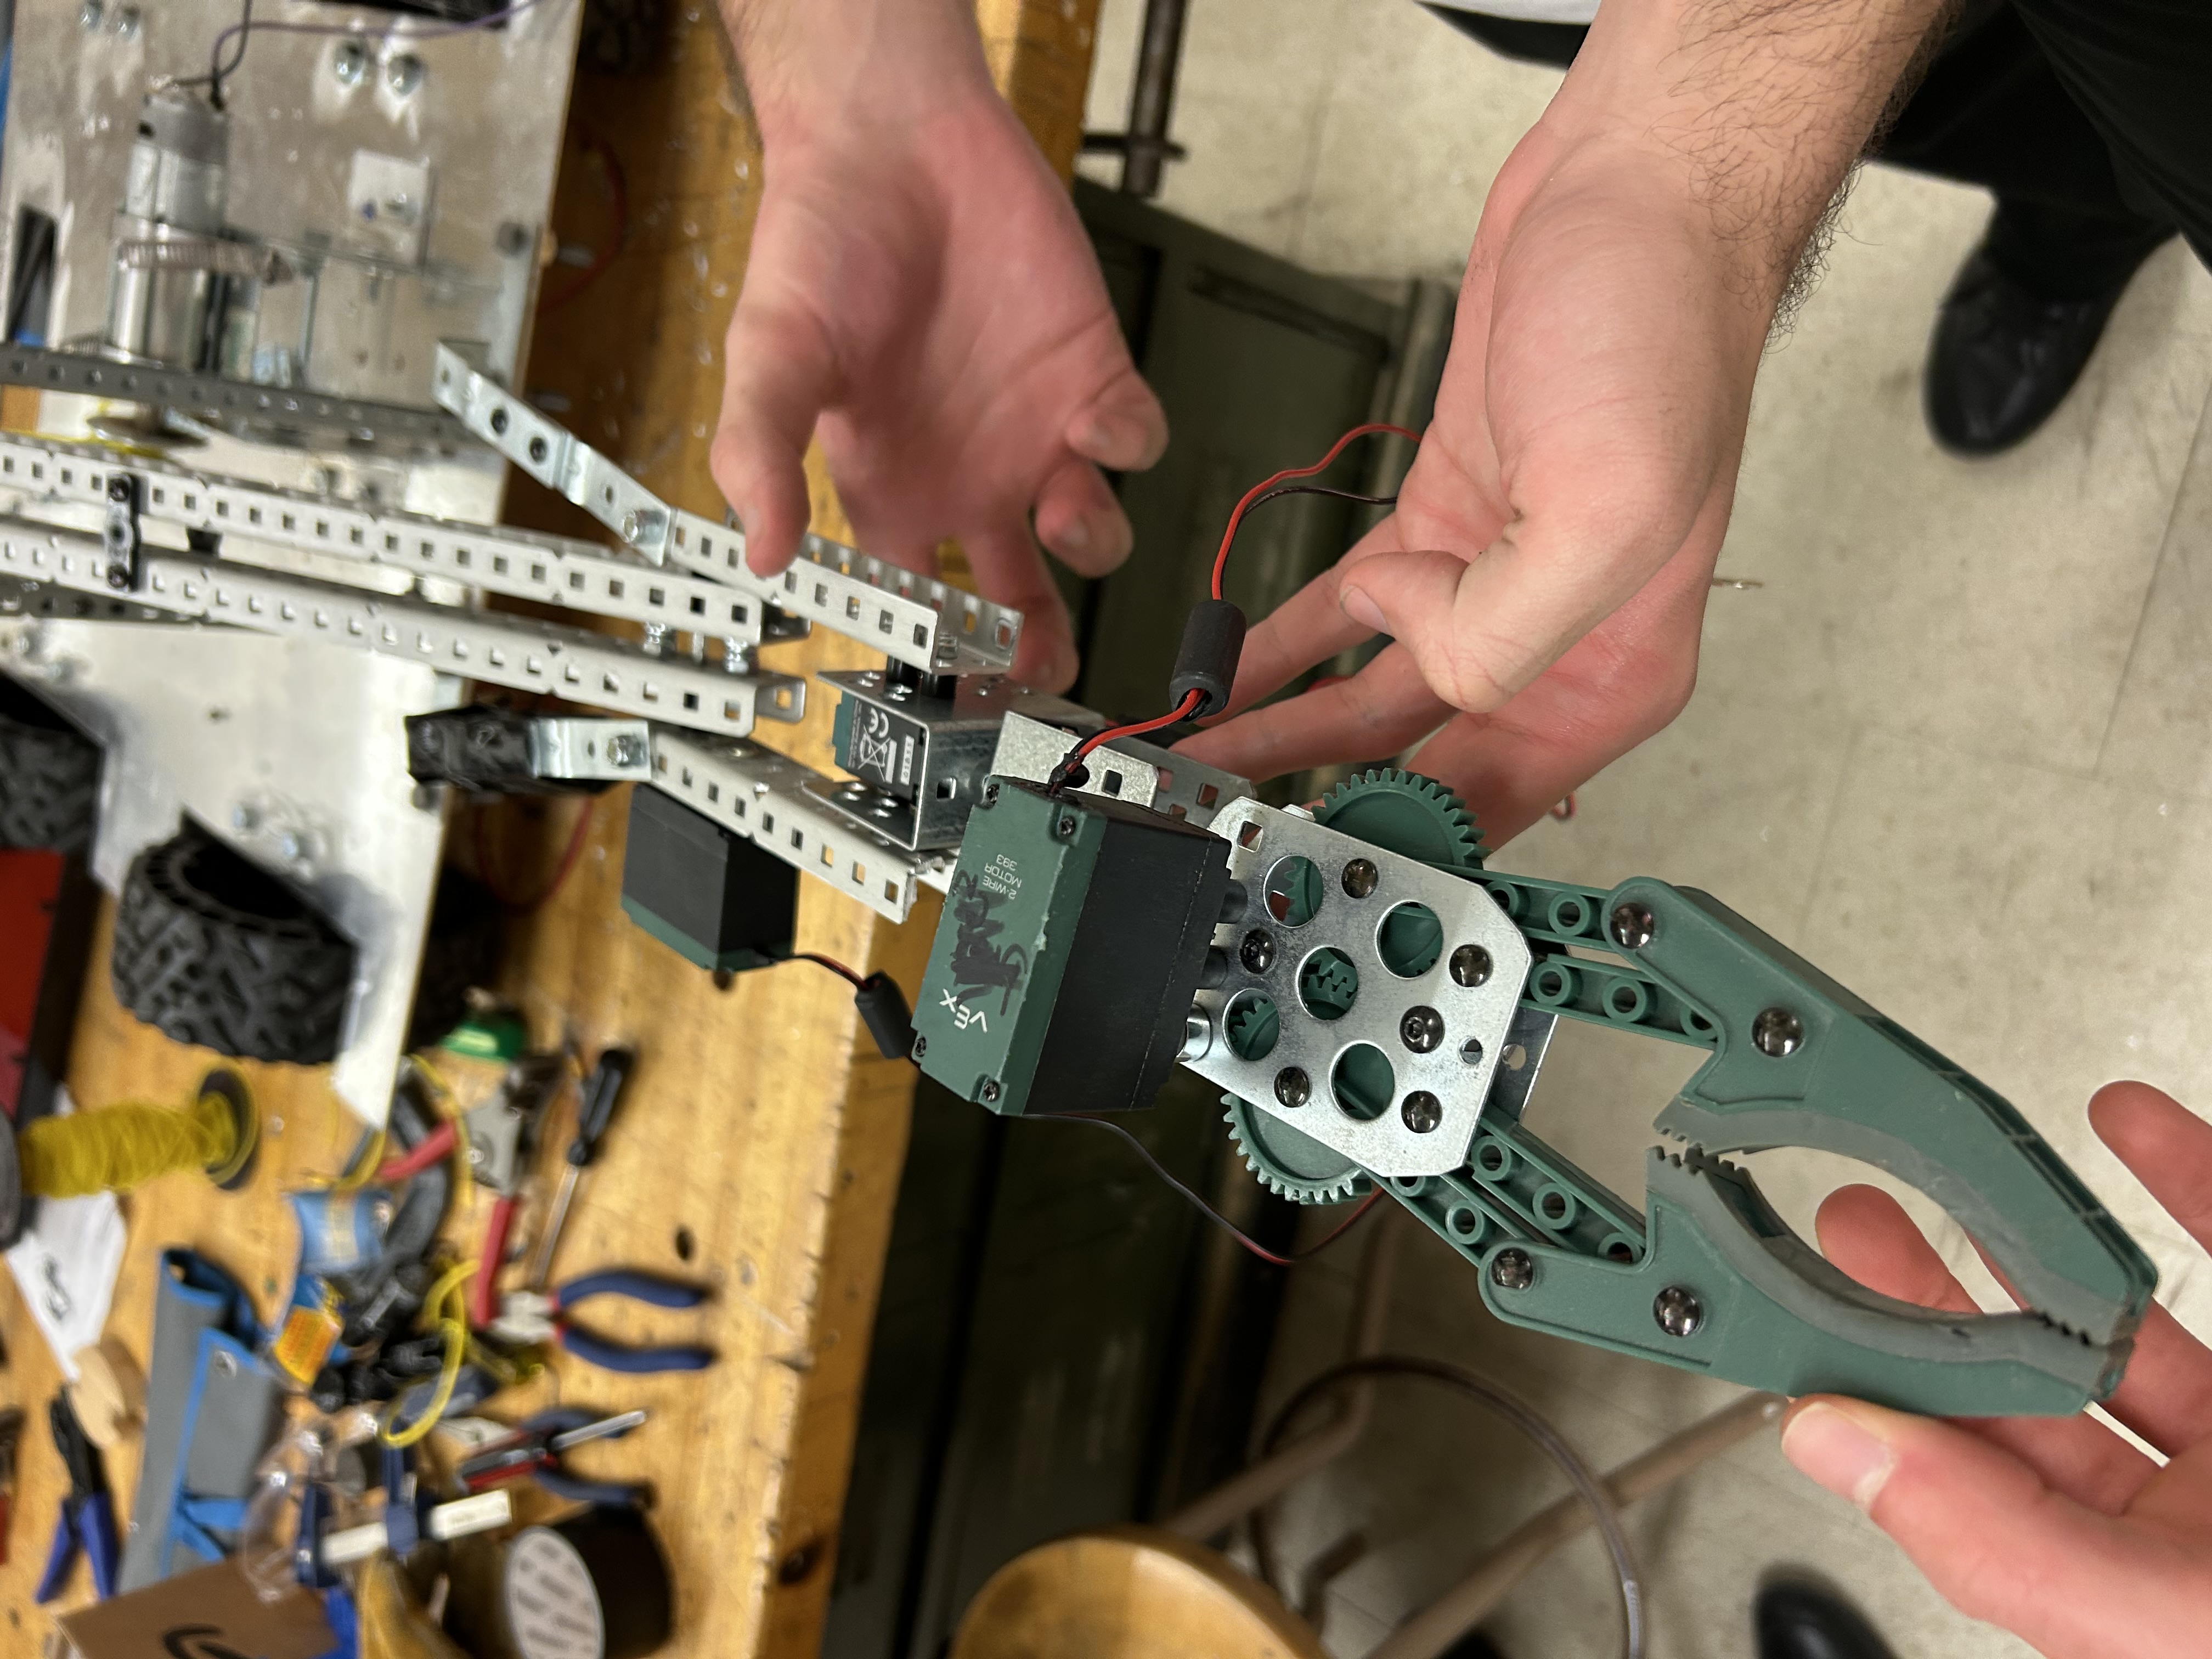
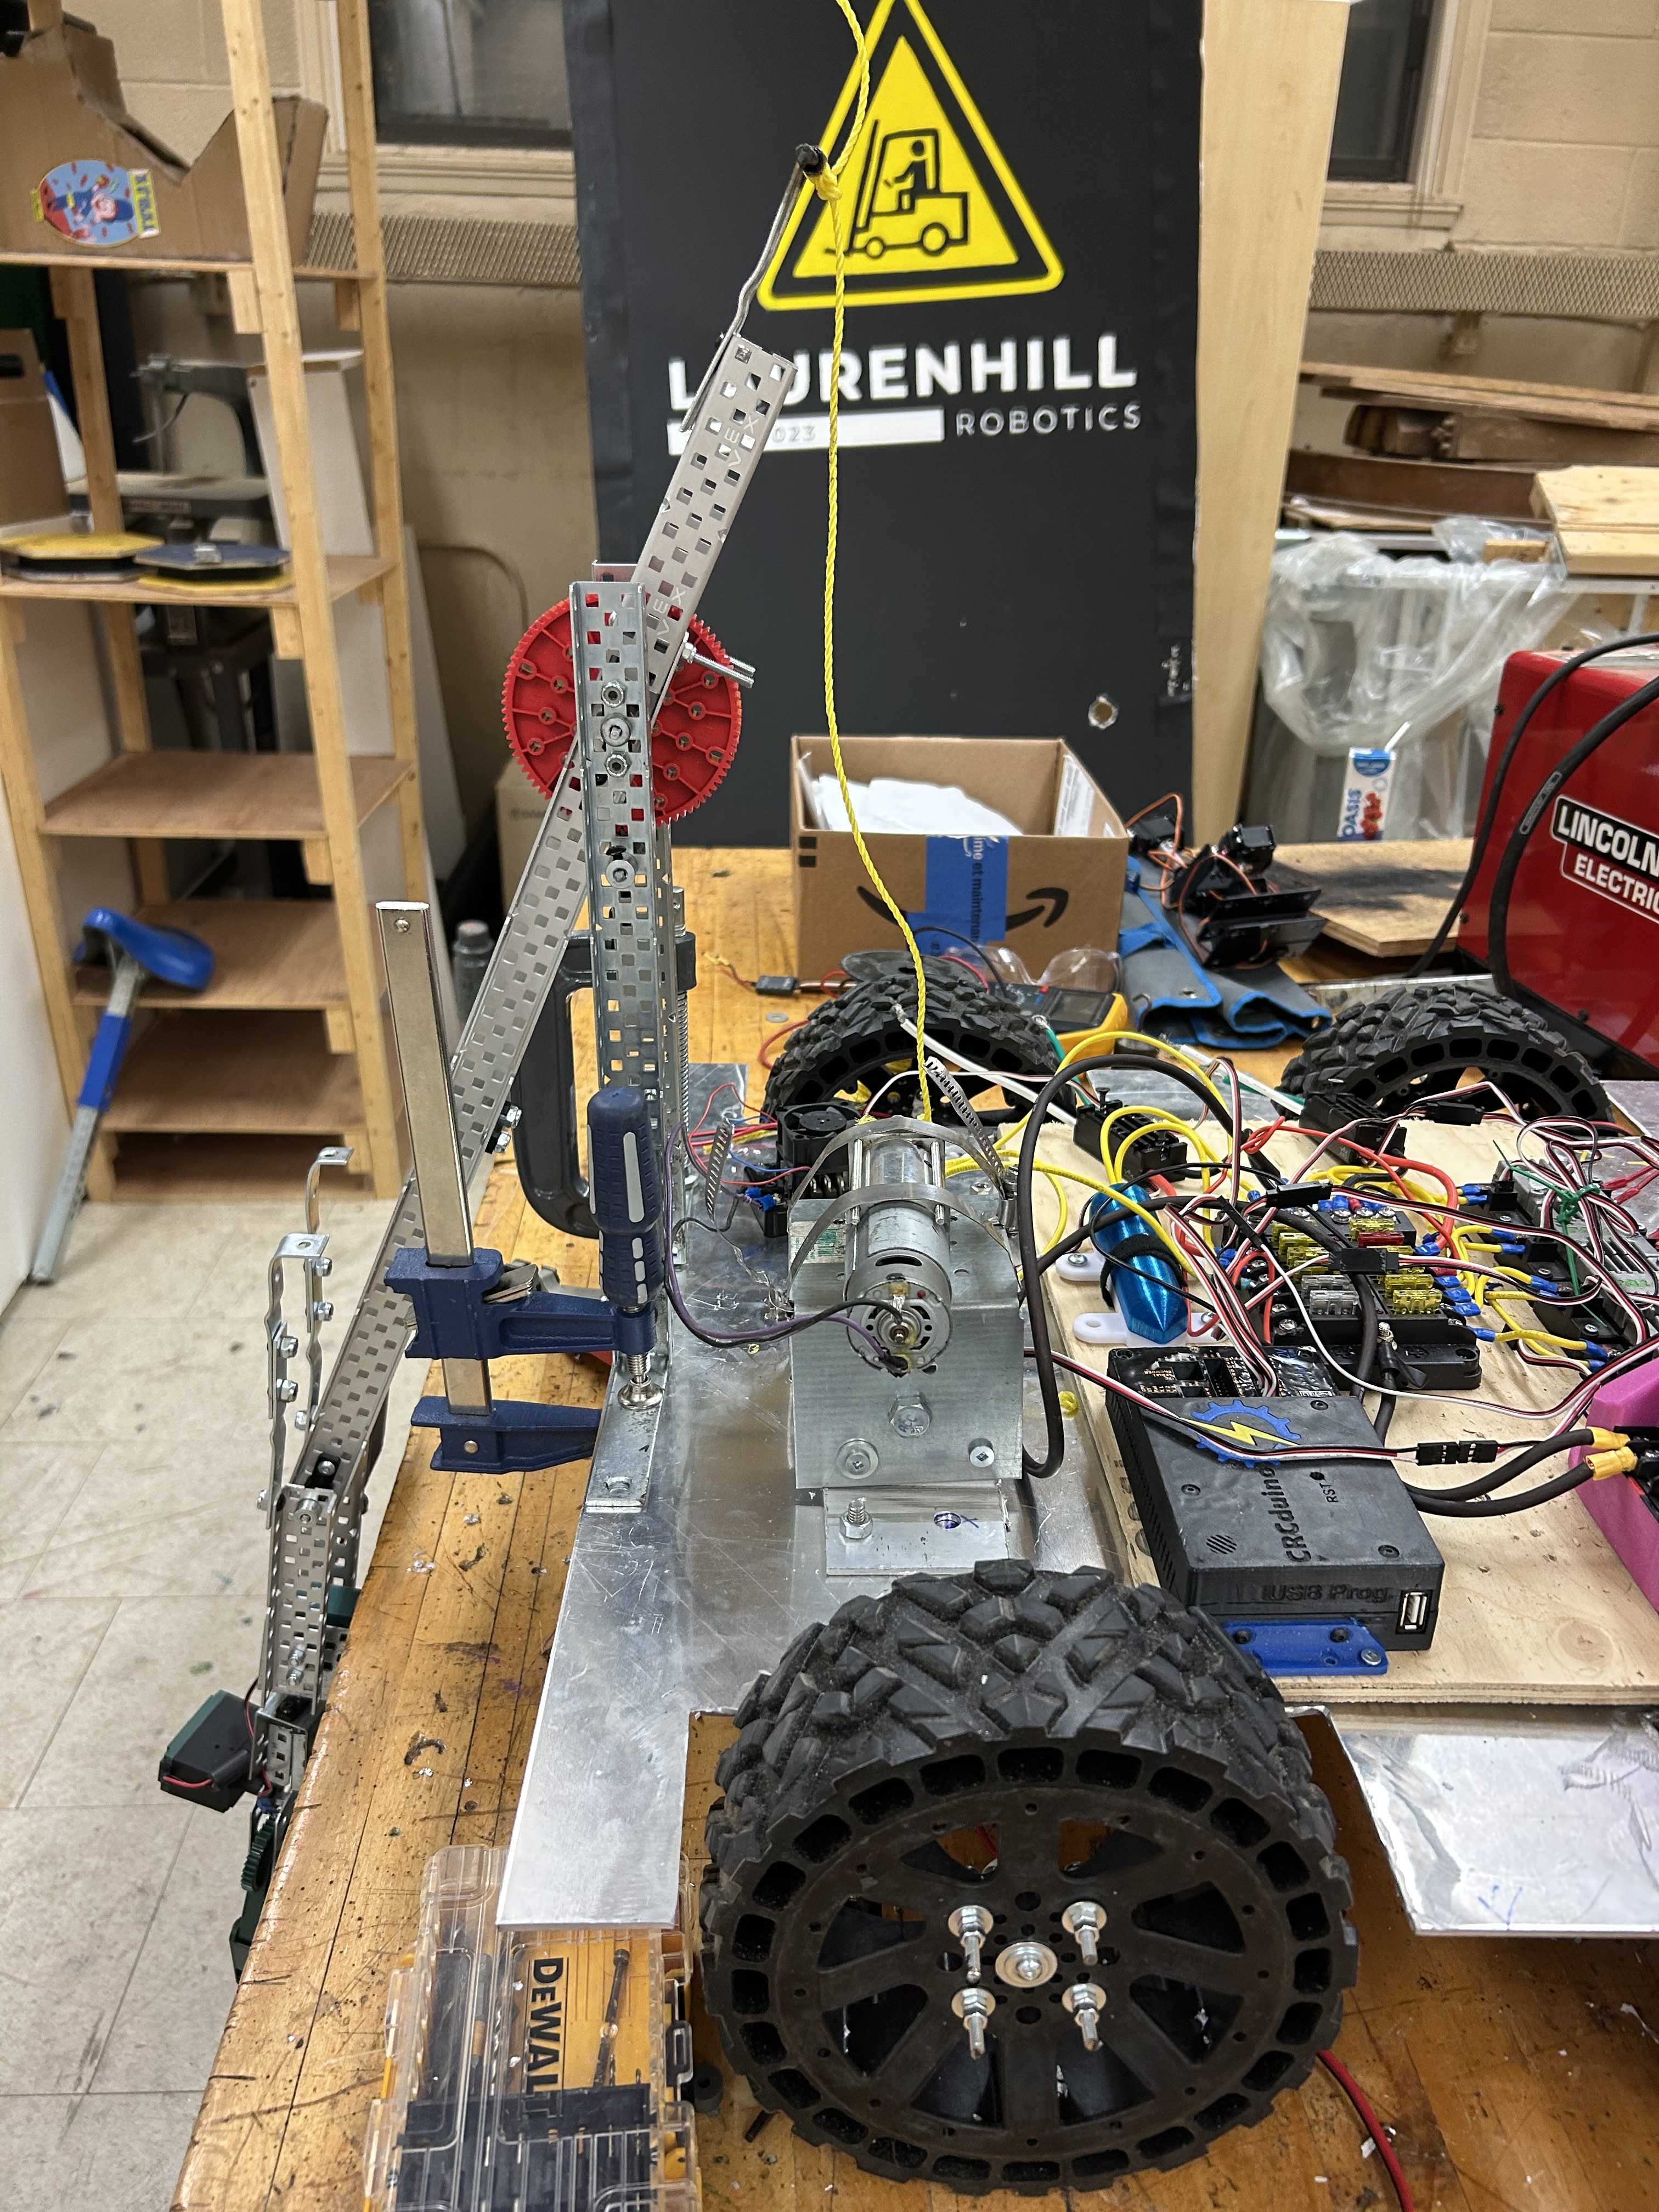
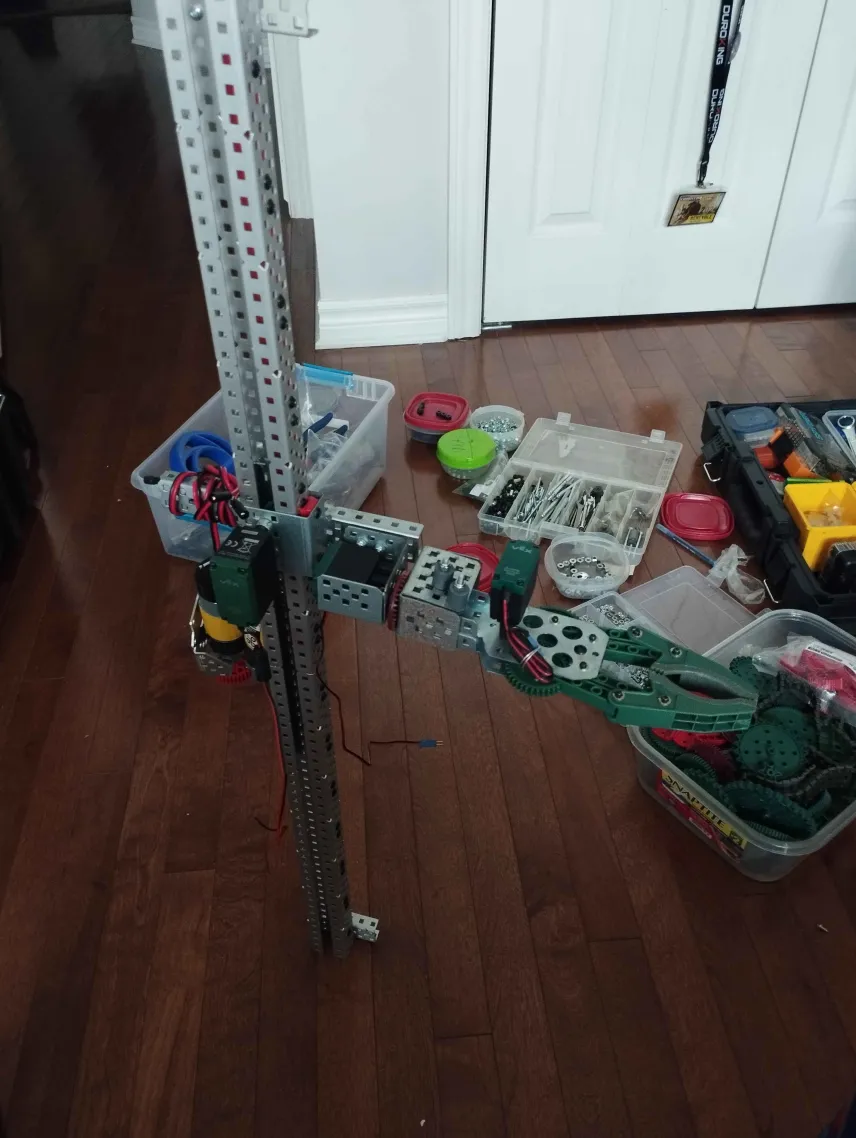
The brawn of the team, despite being the "villains" of the video, they work hard not only on the robot but also on fun side projects for the school. They created one major thing, the arm for Tak Tik 2025.
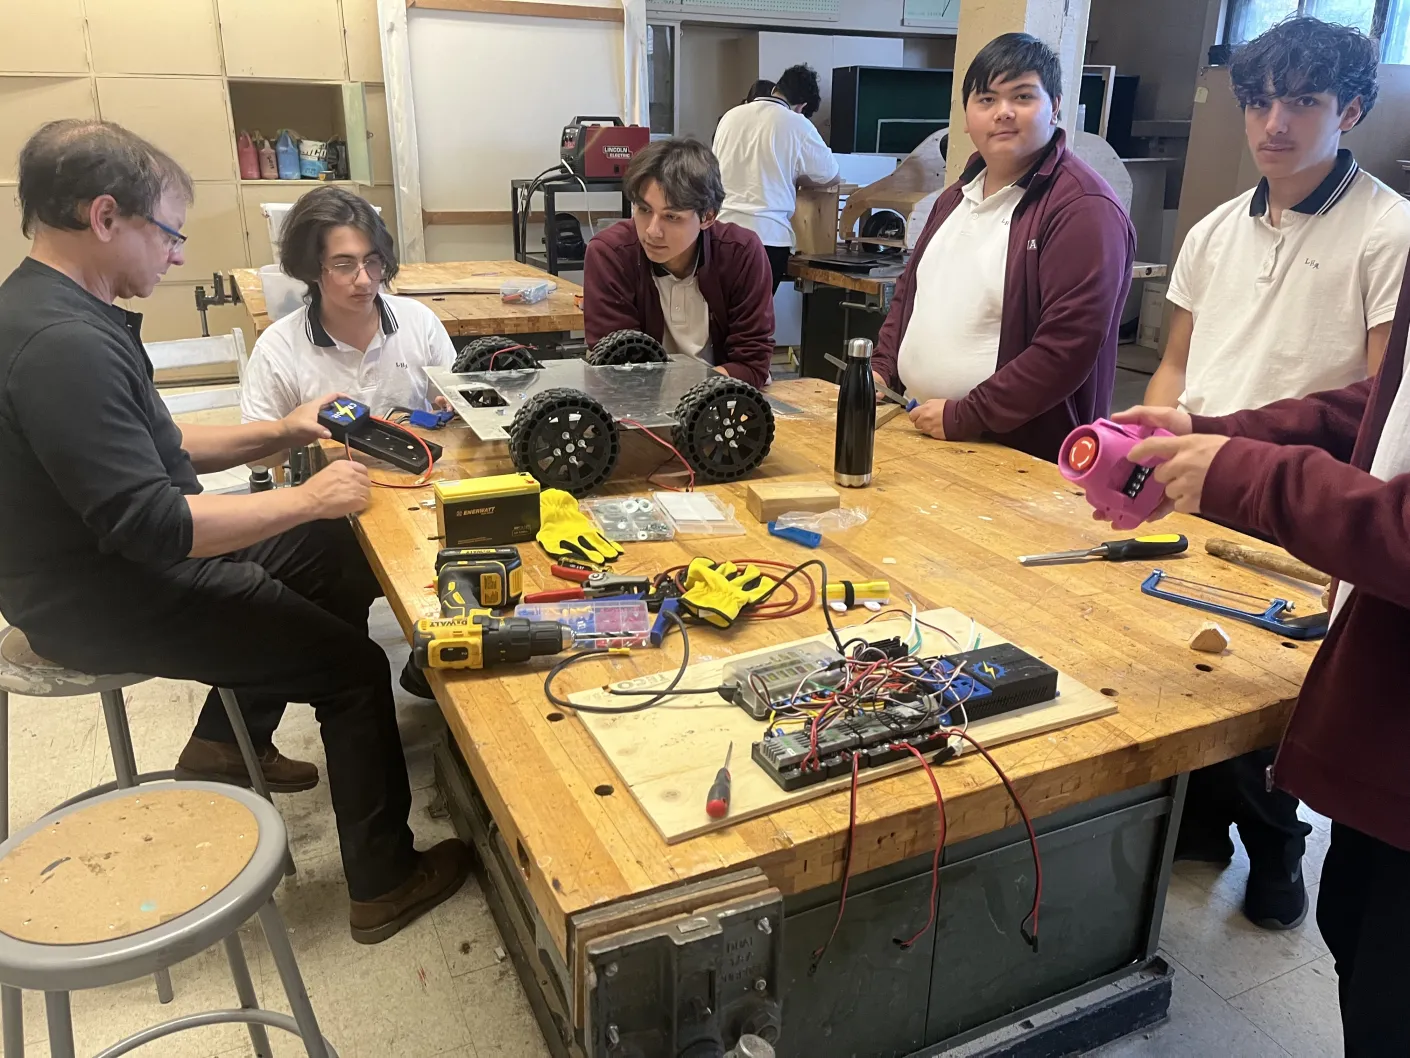
Roster

Journal

Pre-Kickoff

Day 1
Day 1
  • We set up and tested our basic robot with last year’s parts. We made the decision to adopt a tank movement style after some challenges we faced with last year’s system. New, grippier, rubber wheels were also added, in exchange for last year’s harder wheels.
  • On the side, to keep the robot team busy and introduce the new members to the team and equipment, we made progress on a go-kart.
  • November

    Game piece
    Big Game piece
    Built game pieces
  • Construction started on the arm and game pieces replicas.
  • Vex 393
    Vex Construction
    Arm Contrcution
  • We opted to use VEX parts for the robot arm.
  • We experimented with servos (which last year’s team could NOT figure out how to use 🫵).
  • We built an arm for the robot, but are redoing it because the first one was too tiny, so a new one was made / ordered / modified?
  • 1st we made a small mock arm from a tutorial to test the feasibility of doing an arm.
  • We also 3D modelled another robot design (Adrian’s concept).
  • December

    Arm View 2
  • We continued building the arm system.
  • Banebot
  • To lift/raise the system, we used a power motor and attached a string from the arm to the motor shaft. The preliminary tests worked well, so we made improvements by adding edges to the shaft to create what is, more or less, similar to a winch.
  • Claw
  • We ran small tests on the motors on the arm by directly powering them from a 5V source to see if they could support the weight, and for the most part, everything worked. We only needed to add a second motor in the middle.
  • Before Winter Break

    Last Day Before Winter
  • We finished building the arm.
  • Created a new compartment for the robot.
  • Over Winter Break

    old circuit
    Rewiring at home
    Updated
  • We really procrastinated on this one, but finally, the robot's circuitry was adjusted to meet this year’s requirements and new components.
  • I moved the Arduino and light onto the C, and the fuse box plus everything else onto the P. The fuse box is our “power distribution” wiring for the robot.
  • Second Arm
  • Over the break we started on an alternate arm concept. This one is closer to a forklift with a claw.
  • January

    Arm Stabilty work
  • With arm construction finished, we started the wiring and programming.
  • Sketchy Electrical Caps
  • We plugged our 2-wire 393 and 263 motors into the Arduino. At first, we were confused as to why we couldn’t control them properly—it seemed like they were always getting power. The problem was, we thought they acted like servos, but the 2-wire motors needed motor controllers to function correctly. We used the 2-to-3 wire VEX Motor Controller 29, since we had a bunch lying around, and began testing the arm one motor at a time. To wire it, we started by removing the tips from the 3-cable wires we had. We soon realized this was taking too much time and damaging our wires, forcing us to reconnect them using wire caps. So we adopted longer 2-cable wires since that’s all we needed.